JPEG in Photography: RAW vs JPEG, EXIF and Keeping Your Quality
You raise your camera or phone, press the button, and out comes a finished .jpg. Yet that simple file hides a surprising amount: a choice between the "raw" shot and a processed one, a technical passport for the frame that may include your coordinates, and the quiet mechanics of color. Let's work out when to shoot RAW, when JPEG is enough, what EXIF knows about you, and how to save photos so they never lose quality.
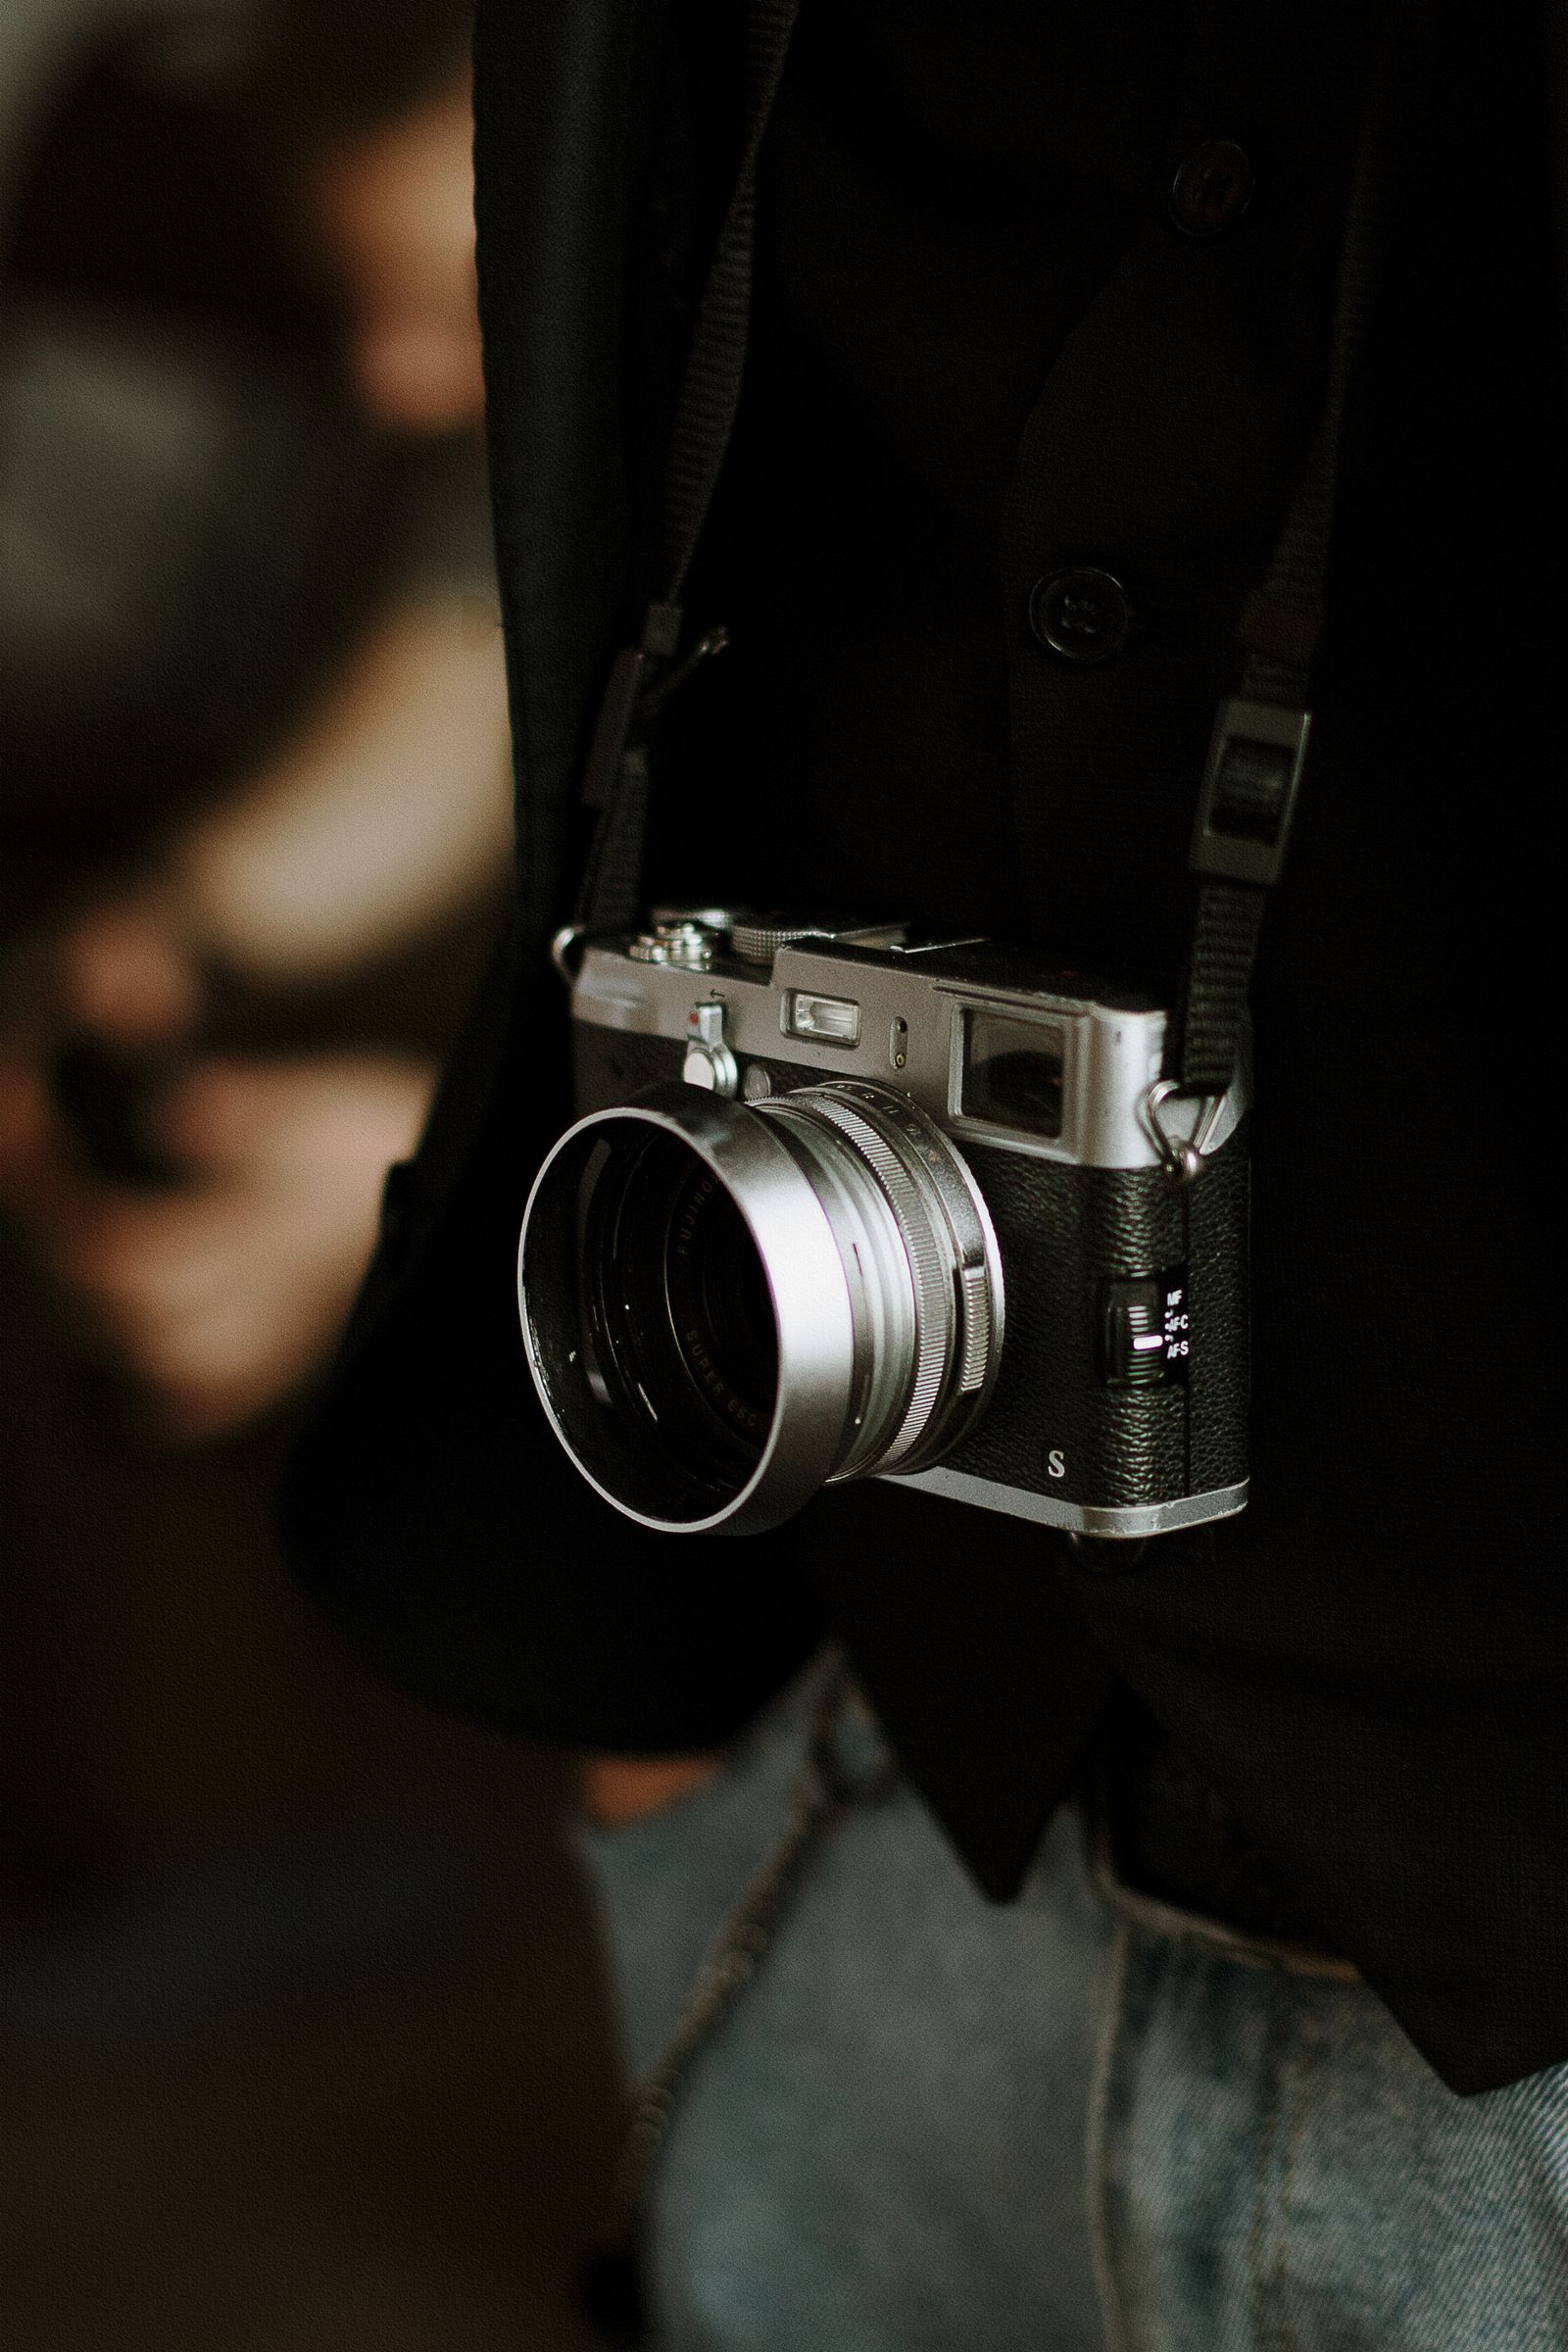
Why cameras shoot JPEG at all
JPEG (often written .jpg) appeared back in the early 1990s and has been the world's default photo format ever since. The reason is simple: it's built for the finished result. When you shoot JPEG, the camera does all the "developing" itself — it sets brightness and contrast, white balance and saturation, sharpens the image, removes noise — and packs the result into a compact file that opens instantly on any phone, in any browser, in any app.
The price for that convenience comes down to three things worth understanding. First, JPEG is lossy: to keep the file small, the algorithm throws away detail the eye barely notices. Second, it stores 8 bits per channel — 256 levels for each of red, green and blue. That's plenty for viewing, but thin for heavy editing. Third, the camera makes every decision about the picture for you, permanently: blown highlights and a wrong white balance are baked into the file and hard to undo.
In short
JPEG is the "cooked meal" from your camera: fast, compact, opens everywhere. RAW is the "raw ingredients": more work, but full control over the result. Understanding that difference is half a photographer's battle.
RAW vs JPEG: when to use each
RAW isn't an image format in the usual sense — it's the raw data straight off the sensor, before any processing. Roughly speaking, a JPEG is a developed photograph, while RAW is the digital negative. From a negative you can pull detail out of shadows and highlights, re-set the white balance without penalty and push the exposure with confidence — because the file holds far more information (typically 12–14 bits per channel instead of eight).
You pay for that freedom in size and time. A RAW file is several times heavier than a JPEG, and you can't post it directly — it needs "developing" in an editor first. So the choice isn't "which is better," it's "which is better for this job."
| Aspect | RAW | JPEG |
|---|---|---|
| What's inside | Raw sensor data | Finished image |
| Color depth | 12–14 bits/channel | 8 bits/channel |
| Dynamic range | Wide, saves shadows/highlights | Limited |
| Editing latitude | Very high | Low |
| File size | Large (20–60 MB) | Small (2–10 MB) |
| Ready to publish | Needs developing | Instantly |
| Compatibility | Needs special software | Opens everywhere |
Shoot RAW when you intend to edit the frame or you're working in difficult light: a sunset, into the sun, a concert, an interior with a bright window. RAW forgives the exposure and white-balance mistakes that would be a death sentence in JPEG.
Shoot JPEG when you need a finished result immediately and without edits: reportage, sports, burst shooting, holiday snaps for yourself, or any time not filling the memory card matters more. And if you'd rather not choose, most cameras offer a RAW+JPEG mode: the very same frame is saved in both formats at once. Use the JPEG for quick delivery and keep the RAW in reserve for serious processing.
What EXIF is and what it knows about you
Open the properties of any photo from a camera or phone and you'll find a whole dossier: which body shot it, which lens, the shutter speed, aperture and ISO, and when the frame was taken. This data is called EXIF (Exchangeable Image File Format) — an invisible block of metadata the camera embeds automatically inside the JPEG file.
For a photographer, EXIF is an invaluable textbook. Admire someone's shot? Check its settings and you'll understand how it was made. Can't get motion sharp? EXIF will tell you the shutter speed was too long. It's effectively a technical passport for every frame.

GPS in photos: the quiet privacy risk
The most sensitive line in EXIF is the GPS coordinates. If location tags are enabled on your phone (and they often are by default), every shot gets the exact spot it was taken — accurate to within a few meters. Photograph your child in the yard or the view from your window, and the file already holds your home address.
Where the trap hides
Big social networks (Instagram, Facebook, and the like) usually strip EXIF on upload — that's good. But if you send the original directly — by email, as a "file/document" in a messenger, on a USB stick or through cloud storage — the GPS coordinates will most likely stay. That's exactly how strangers sometimes learn where the author of a "harmless" photo lives.
What to do about it. First, you can turn off location tags in your phone's camera settings — for everyday shots that's sensible. Second, before sharing important files publicly, remove the metadata: on Windows that's "Properties → Details → Remove Properties," and on a phone there's usually a "Remove location" option when sharing. A simple, reliable trick is to re-save the photo through a converter — exporting to another format often clears EXIF along the way. The flip side: a photographer building a portfolio finds EXIF useful, so strip it deliberately, not "just in case" on everything.
Color and 8 bits: why JPEG sometimes bands
JPEG stores 8 bits per channel — 256 brightness levels each for red, green and blue, or about 16.7 million colors. For a finished photo on screen that's more than enough. Trouble starts when you push such a file in editing: smooth gradients like a clear sky develop visible steps, or "banding" (posterization). RAW, with its 12–14 bits, has many times the headroom, so the sky stays smooth even after heavy correction.
The second key point is the color space. JPEGs are most often saved in sRGB, the standard of the internet: browsers, phones and social networks all read it identically. There's also the wider Adobe RGB, which covers more saturated tones and helps for print. But post an Adobe RGB shot to the web without the right profile and, for most viewers, the colors turn dull and washed out. So the rule is simple.
Everyday color rule
For the web, social media and on-screen viewing — always sRGB. Save Adobe RGB for print and prepress, where color is managed properly. When in doubt, choose sRGB and you won't go wrong.
Quality and "stars" in your camera menu
If you shoot JPEG, your camera menu almost certainly offers a quality choice: Fine / Normal / Basic, or icons shaped like "stars" and "arcs." That's the JPEG compression level. The higher the quality, the less the algorithm throws away, the cleaner the picture and the heavier the file. In sports, where every fraction of a second and a burst of dozens of frames matter, a lower quality is sometimes chosen for speed and space. But for most situations there's one universal piece of advice.
Quality tip
Shooting JPEG? Set the highest quality (Fine / L). Memory cards have been cheap for years, but you can't pull detail back out of an over-compressed file later. Saving megabytes at the moment of capture is almost always a false economy.
A separate point is resolution (L / M / S). Shoot at full size (L): you can always scale a frame down, but you can't scale it up without losing sharpness. The same goes for aspect ratio — better to crop on the computer than to throw away pixels in-camera.
Exporting JPEG from RAW the right way
Say you shot RAW, edited the frame — now you need to show it to the world. The final step is almost always the same: export to JPEG. Browsers and social networks love it because it's light and opens instantly. A sound workflow looks like this.
Shoot RAW
You keep the maximum sensor data — your "negative" and your safety net against exposure mistakes.
Develop and edit
In Lightroom, Capture One, Darktable or RawTherapee, adjust light, white balance and color — still at full depth.
Export to JPEG (sRGB)
Output in sRGB, at 85–100% quality and the size you need. This is the final, publish-ready version.
Always edit from the original
Need changes? Go back to the RAW rather than editing the finished JPEG over the top.
The classic beginner mistake
Don't edit a JPEG over and over. Every re-save is a fresh round of lossy compression: artifacts accumulate, "mush" appears around edges, and the sky starts to band. Edit from RAW or the original, and export to JPEG once — the final.
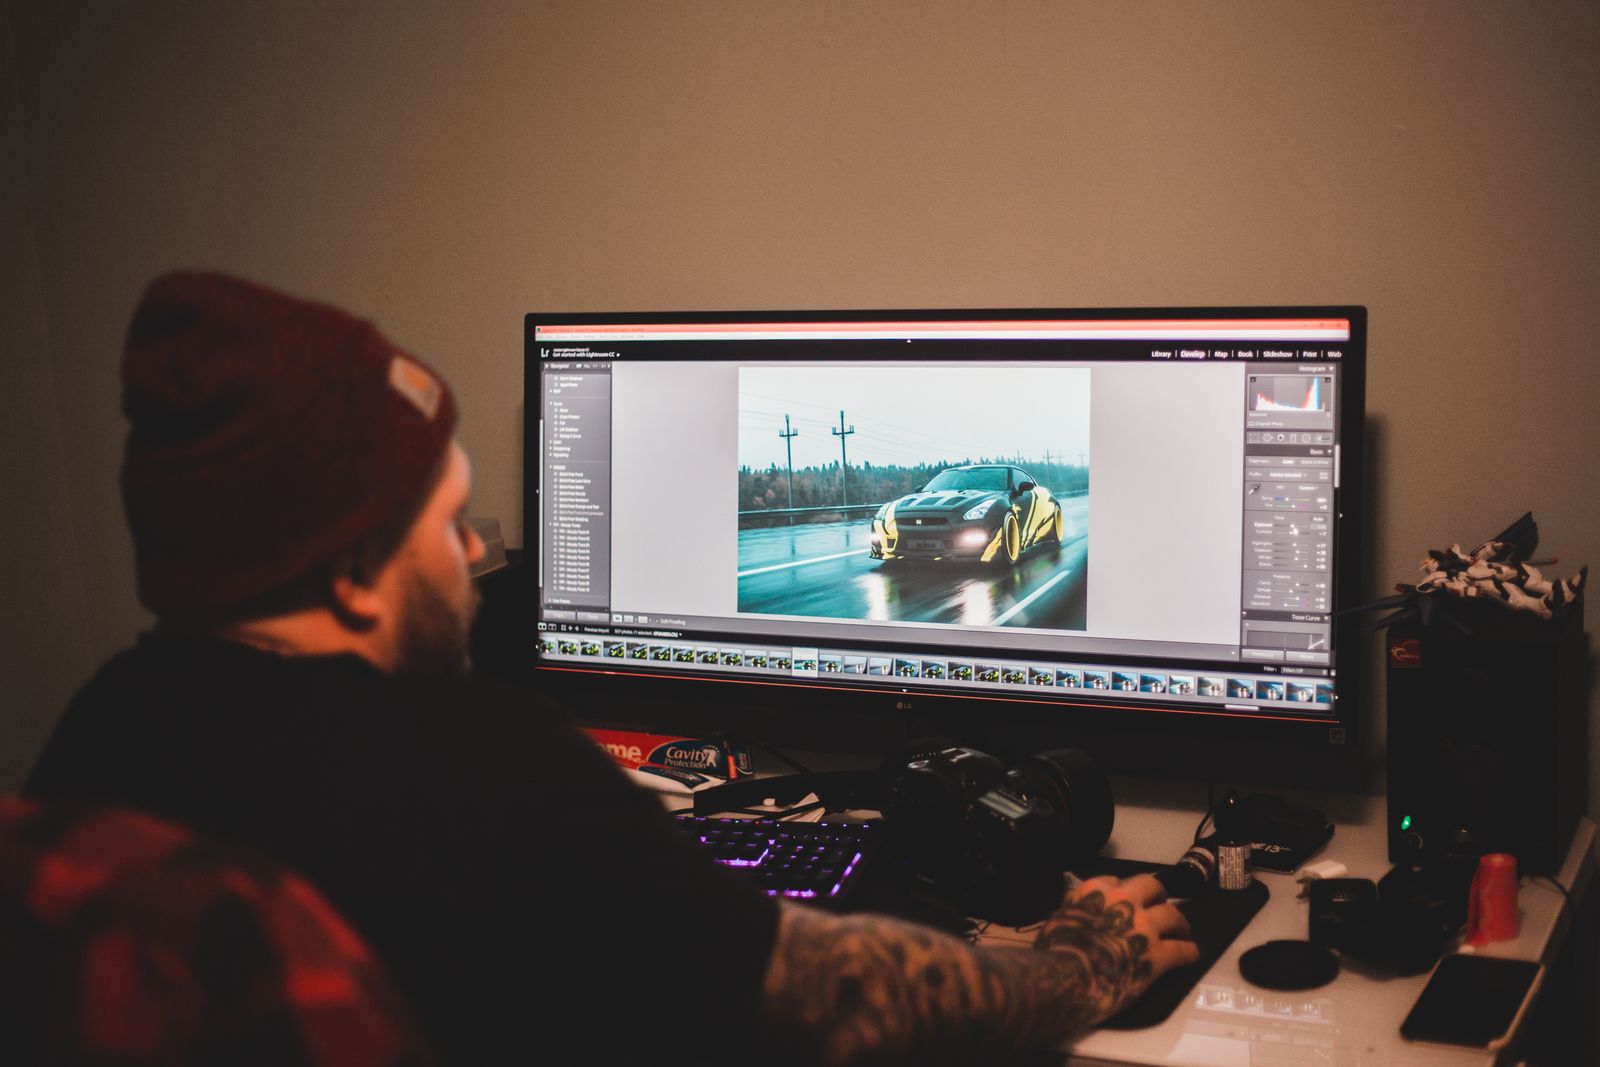
How to open and convert photos
JPEG opens anywhere, but sometimes you need to move it to another format: PNG — to keep the frame lossless for further editing or to add transparency; WebP — so a photo on a website weighs less and loads faster. Converting is also an easy way to clean the EXIF and drop location tags before publishing.
Convert your photos right in the browser
The free FormatZ converter moves a JPG to the format you need in a couple of seconds — no install, no sign-up — and files are deleted automatically after processing.
Convert JPG to PNGShooting on an iPhone? You'll want the HEIC to JPG converter — it turns Apple's signature HEIC files into universal JPEG. Preparing photos for a site where load speed matters? Look at JPG to WebP. And the full list of conversions is always on the all formats page.

