STL for 3D Printing: What It Is and How to Prepare a Model
You found a great model on Printables or made your own in CAD — and the printer spits out mush, gaps, or refuses to print at all. Nine times out of ten it's not the printer's fault but the STL file's. Let's unpack what the format is, why the mesh must be watertight, and how to get a model to the slicer with no surprises.
What STL is in plain English
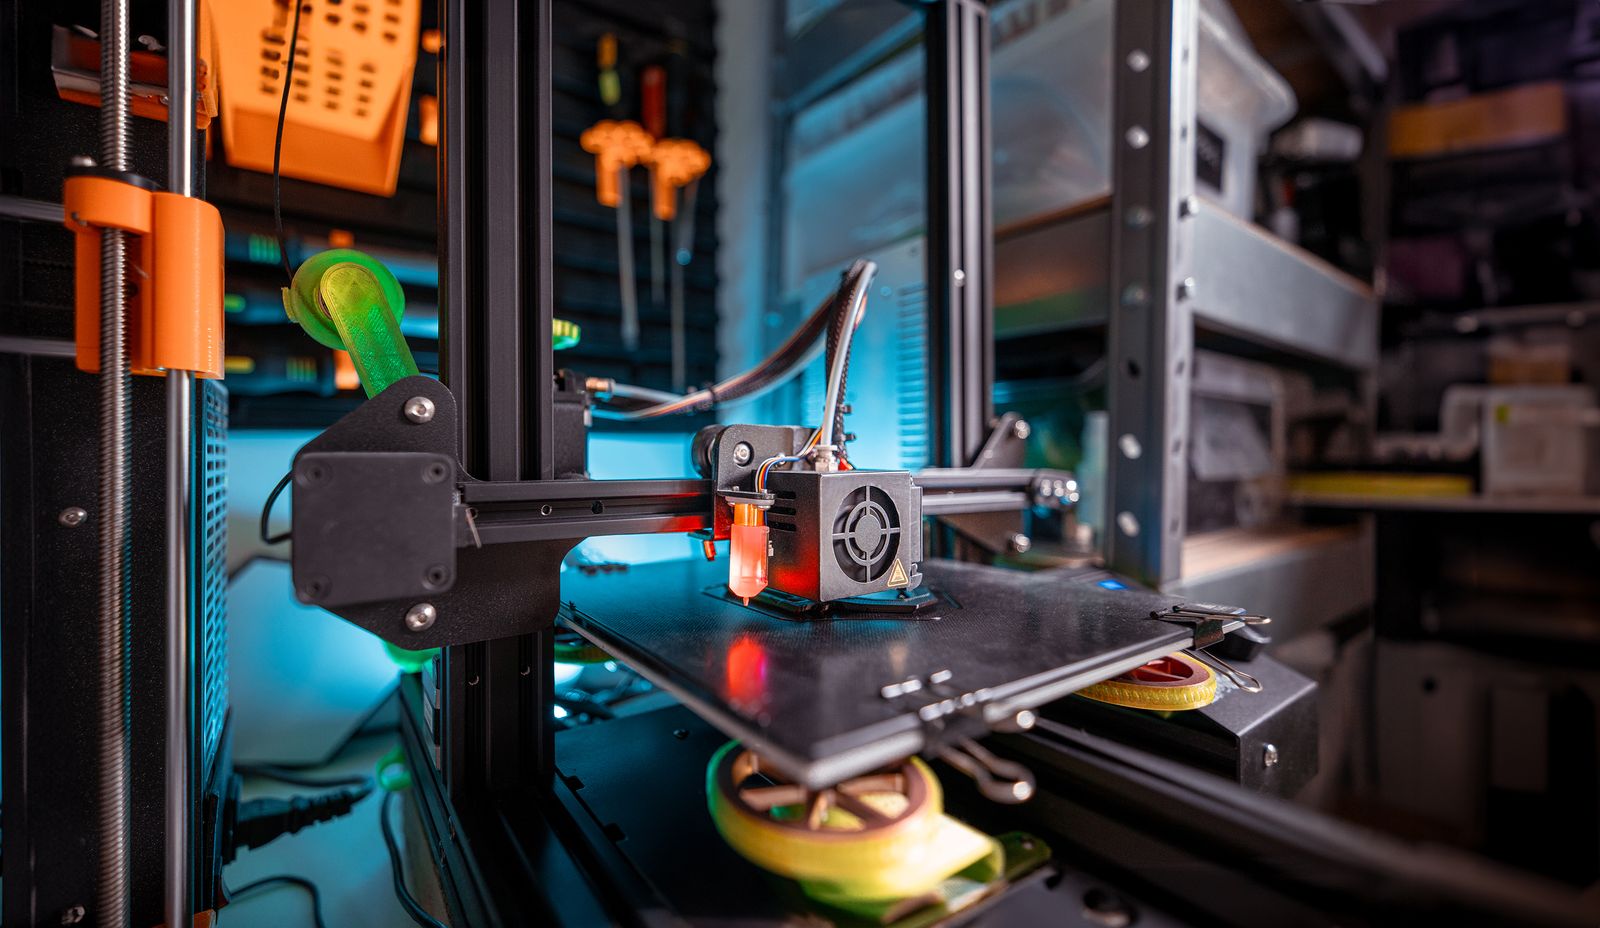
STL is a format that describes the surface of a 3D model as a solid "scale" of triangles. The acronym is expanded in different ways: most often as STereoLithography (after the technology it was created for in 1987), sometimes as "Standard Tessellation Language." The essence is the same: STL represents any shape — from a gear to a dragon figurine — as a set of flat triangular faces joined edge to edge.
Each triangle is defined by three vertices and a normal vector that shows which side of the face points "outward." There is almost nothing else in the file — and that is the whole philosophy of STL: give the printer exactly what it needs and not a byte more.
In short
STL is "shape without substance": just the surface geometry as triangles. No color, no material, no units. In exchange, every slicer and every 3D printer on the planet understands it.
Why STL has no color or textures
Beginners are surprised: how come I see a model on screen but the color didn't save into the file? The answer is simple — an ordinary FDM printer doesn't need color. It builds the part by extruding molten plastic layer by layer, and the object's color is decided by the filament spool, not the file. Textures and materials are the language of rendering and games, not of physical manufacturing.
So STL deliberately threw everything extra away. If you need color printing (say, on a multi-material printer or for a full-color resin model), other formats are used — 3MF or OBJ, which can store color. But for 99% of home printing, STL remains the best choice.
Watertight mesh: the golden rule
Here is the most important thing to know about STL before printing: the mesh must be watertight (technically manifold). Picture the model as an inflatable balloon: if you poured water inside, none should leak out. No holes, no gaps, no dangling edges.
Formally that means every mesh edge belongs to exactly two triangles, all normals face outward, and there are no self-intersections or duplicate vertices. Only for such a closed surface can the slicer clearly answer the key question: "where is the plastic here, and where is empty space?"
What breaks prints most often
Typical STL defects: holes in the mesh (an edge on only one triangle), flipped normals (a face pointing inward), self-intersections, and non-manifold edges where three or more faces meet. At those spots the slicer produces gaps, extra walls or strange infill. Fix them in Blender, Meshmixer, Microsoft 3D Builder or an online repair tool.
ASCII or binary STL
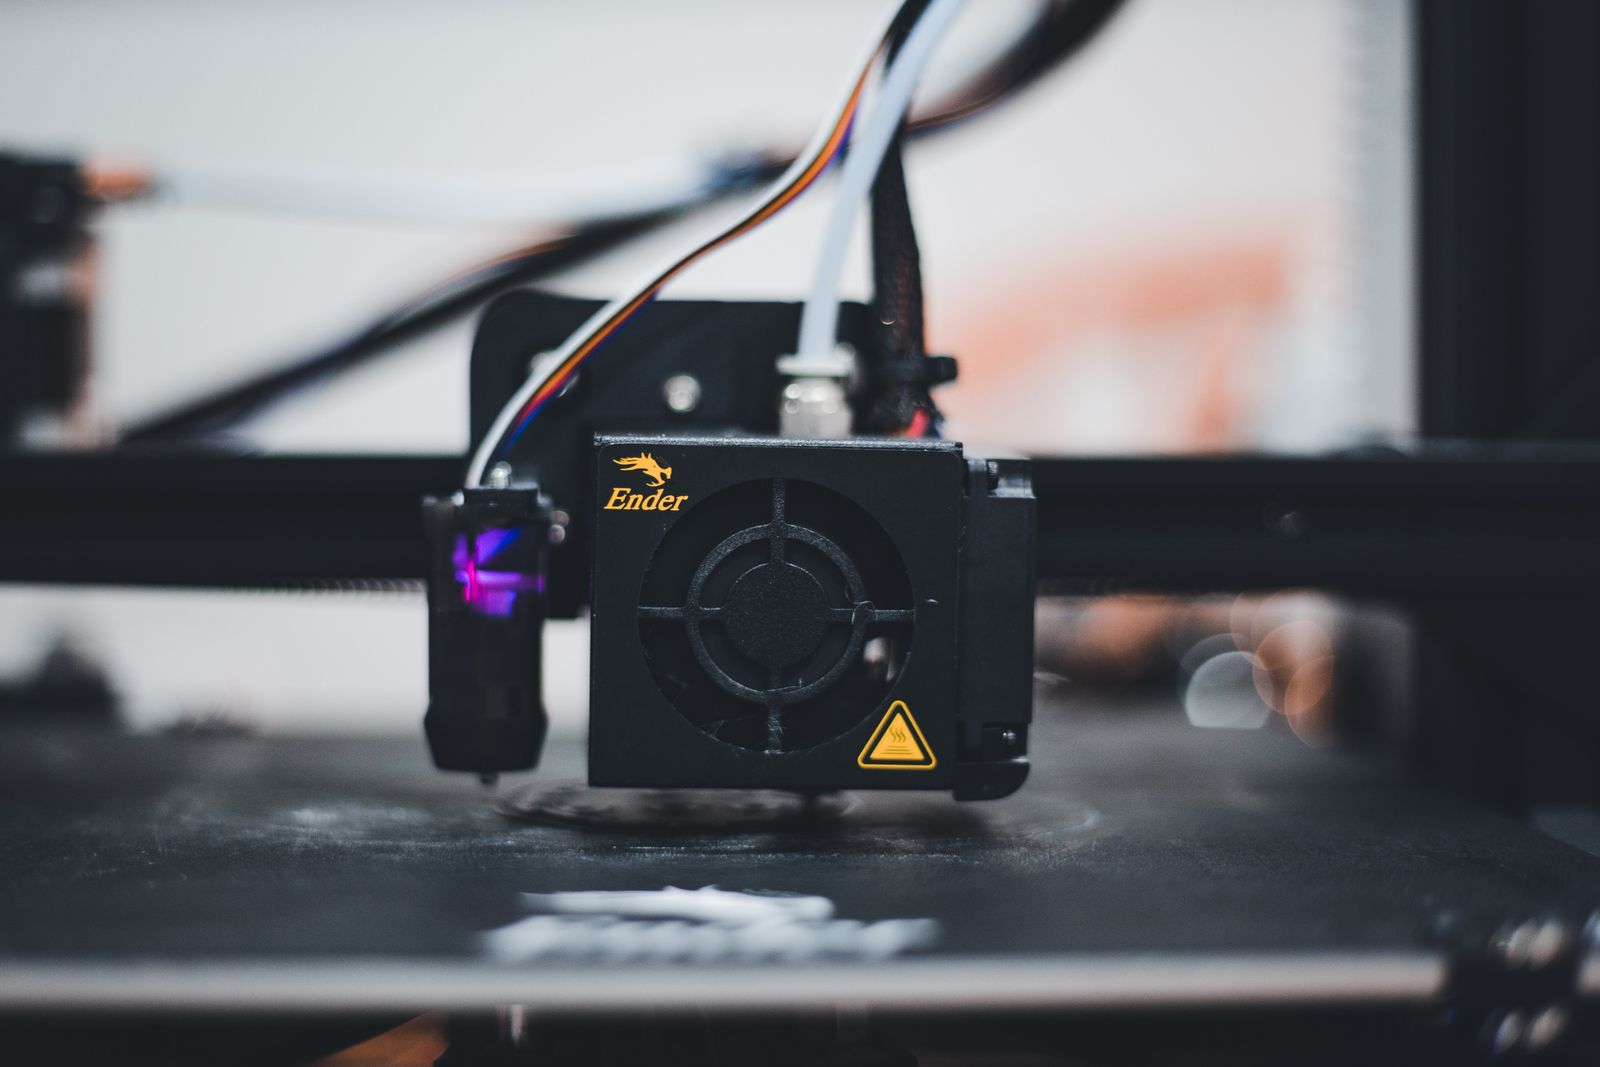
STL comes in two variants, and the only difference is how the same triangles are written down. ASCII STL is human-readable text: open the file in Notepad and you'll see the words facet normal, vertex and coordinates. Binary STL stores the same numbers as raw 32-bit values — compact, but unreadable by eye.
The practical takeaway is simple: for printing, almost always use binary. It is about 8 times smaller for the same geometry and opens faster. The ASCII version is justified only when you want to peek inside a very simple model to debug it — on a real part with millions of triangles, a text file balloons to hundreds of megabytes for no reason.
Units, scale and tessellation
Remember that STL stores no units — inside are just bare numbers. By an unwritten convention, the whole 3D-printing world treats them as millimeters. Hence a classic trap: if a model was drawn in inches, on import it will be 25.4 times smaller than intended; if in centimeters, 10 times larger. So the first thing to do after loading into the slicer is to check the dimensions along each axis.
The second key parameter is tessellation — how finely a smooth surface is broken into triangles. A sphere made of a hundred faces comes out "faceted" like a cut diamond; made of tens of thousands, perfectly round, but the file gets heavy. The balance is set on CAD export via the tolerance (chord/angle): too coarse and you see facets, too fine and the printer can't reproduce the difference anyway while the file swells.
The path to the printer: slicer and G-code
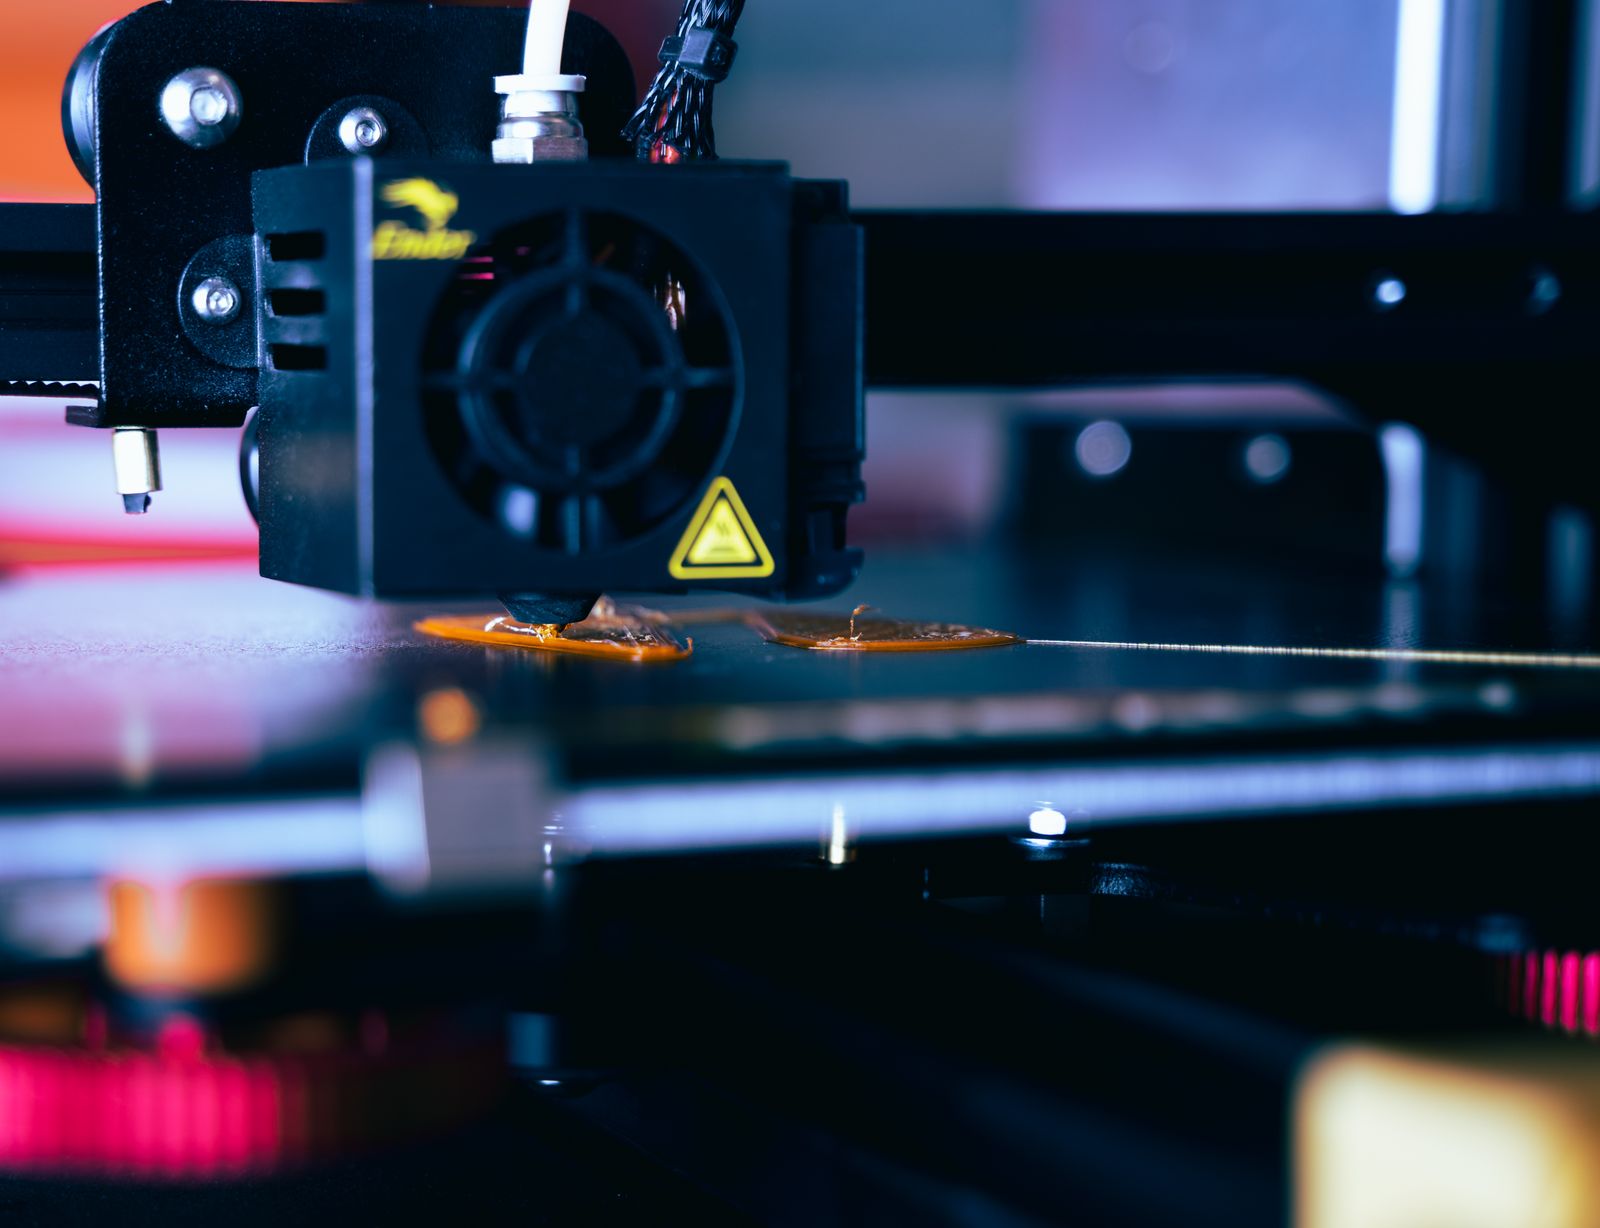
A printer doesn't understand STL on its own — it needs concrete commands: where to move the nozzle, how fast, how much plastic to extrude. The program that turns a model into those commands is the slicer (Cura, PrusaSlicer, Bambu Studio, Orca). It mentally "slices" the watertight model into horizontal layers, say 0.2 mm thick, and for each layer computes the outline, the infill and the supports.
The slicer saves the result as G-code — a long list of instructions that goes to the printer. That's exactly why a correct STL is so critical: if the slicer meets a hole or a flipped normal during slicing, the error gets "baked" into the G-code, and the printer faithfully reproduces the flaw in plastic.
Check the mesh
Make sure the STL is watertight — repair holes and normals if needed.
Set the scale
Verify the size in mm: the model should be exactly as big as intended.
Slice it
Set layer height, infill and supports, and generate G-code.
Send the G-code to the printer via USB, SD card or over the network.
Pre-print checklist
A short list that saves hours and spools of filament:
- Mesh is closed — no holes, normals outward, no self-intersections.
- Scale is correct — dimensions in millimeters match the intent.
- Format is binary — the file isn't bloated by needless ASCII.
- Tessellation is sensible — smooth surfaces without coarse facets, but not gigabytes.
- Orientation is considered — the model is turned to minimize supports.
Need to prep not just the model but its images too?
FormatZ converts images and documents right in your browser — fast and with no install. Handy for instructions, previews and cover art for your models.
Open all formatsIf you're still deciding which format to store a model in, see our comparison of OBJ, FBX, STL and glTF. And to simply view someone else's STL before printing, our overview of how to open 3D models will help.
Frequently asked questions about STL
Read next
 3D
3DOBJ vs FBX vs STL vs glTF: Which 3D Format to Choose
Four formats for four jobs — and how to pick without guessing.
 3D
3DHow to Open 3D Models: OBJ, FBX, STL
Free viewers and apps to inspect an STL before printing.
 3D
3DglTF and GLB: 3D for Web, AR and the Metaverse
The lightweight 3D format for the browser and augmented reality.