Preparing for Print in Photoshop: 300 DPI, CMYK, Bleed
The artwork looks fire on screen, but the print shop sends back a soft mess with white strips at the edges and completely different colors. Frustrating and expensive. Here's a tight checklist — resolution, color, bleed, flattening and the right PDF — so the print matches what you designed.
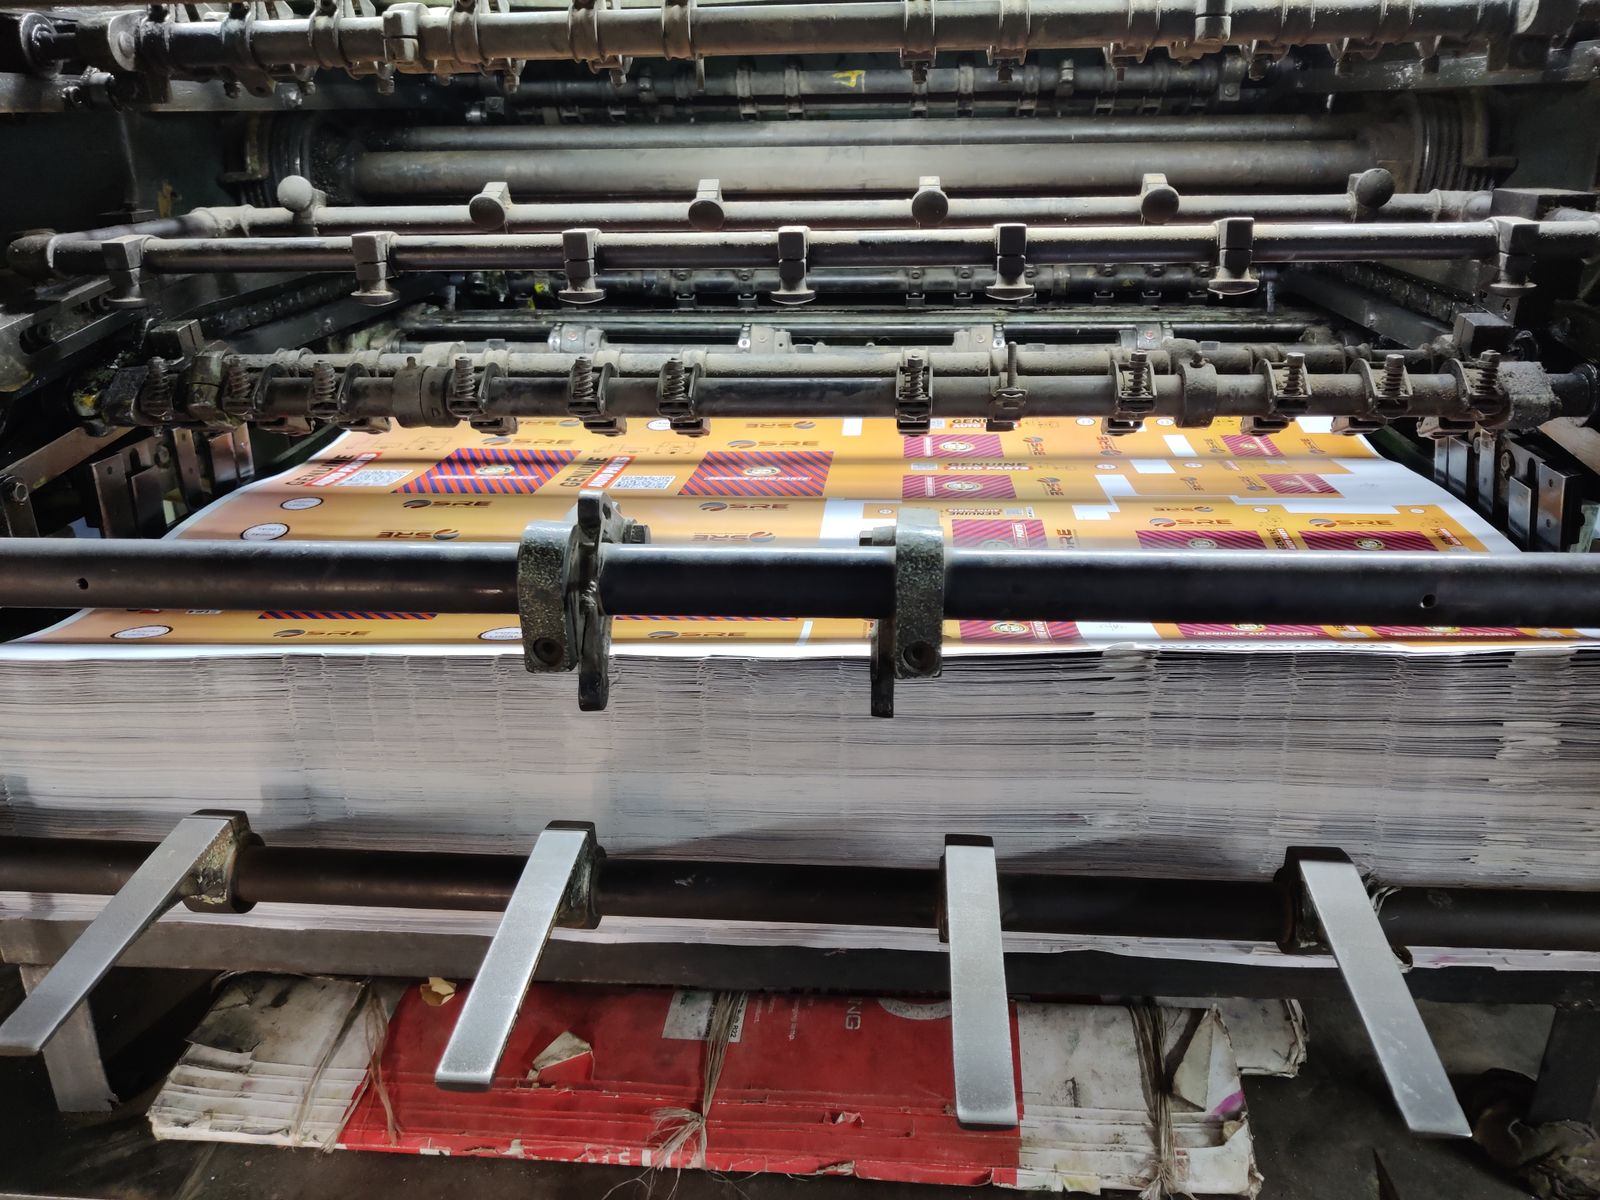
Why you can't just send a "screen" file to print
A file for screen and a file for print live by different laws. A screen glows and forgives a lot: low resolution hides, colors are vivid out of the box. Paper is harsher — it reflects light, gets cut by a blade, and is printed with ink. Three things a screen forgives that print doesn't:
- Resolution. A monitor needs only 72–96 ppi; print needs 300 — otherwise grain shows.
- Color. Screen is RGB, print is CMYK. Vivid colors are inevitably muted on paper.
- Edges. The cutter trims with a tolerance, so you need extra image beyond the edge — bleed.
The good news: all of this is solved in a few steps, right in Photoshop. Let's go through them in order.
The golden print-shop rule
Before you start, ask the print shop for its requirements: resolution, CMYK color profile, bleed size and preferred file format (usually PDF/X). Five minutes of emails saves a reprint and money.
Resolution: why exactly 300 DPI
300 ppi (dots per inch) is the density at which the eye can't tell individual dots apart at normal distance, and the image looks perfectly smooth. Lower than that and grain or pixel stair-stepping shows up on the print.
The key catch beginners trip on: resolution is set at the actual print size. 300 ppi for a business card (3.5×2 in) and for a 3-metre banner are completely different pixel counts. Check in Image → Image Size: enter the physical size first, then make sure the resolution hasn't dropped below 300.
You can't "invent" resolution
If the source is small, simply upscaling to 300 ppi adds no detail — Photoshop just stretches the pixels and the image goes soft. Resolution is built in up front: shoot and design at the size you need from the start. For large formats an AI upscale can sometimes help, but it's plan B, not the norm.
Converting to CMYK against the shop's profile
Printing physically works with CMYK inks, so the file ends up there regardless — the only question is who converts it. Leave it in RGB and the press does a blind auto-conversion, and the result can surprise you. Better to convert yourself and see how the colors shift.
You do it via Image → Mode → CMYK Color, with an important caveat: convert against the specific print shop's profile (they'll give it to you). Before converting, it helps to turn on soft proofing and the gamut warning to see in advance which vivid colors "won't fit" in print and mute them deliberately. How all this works is covered in detail in "Color in Photoshop: RGB, CMYK and Profiles".
Bleed and trim marks
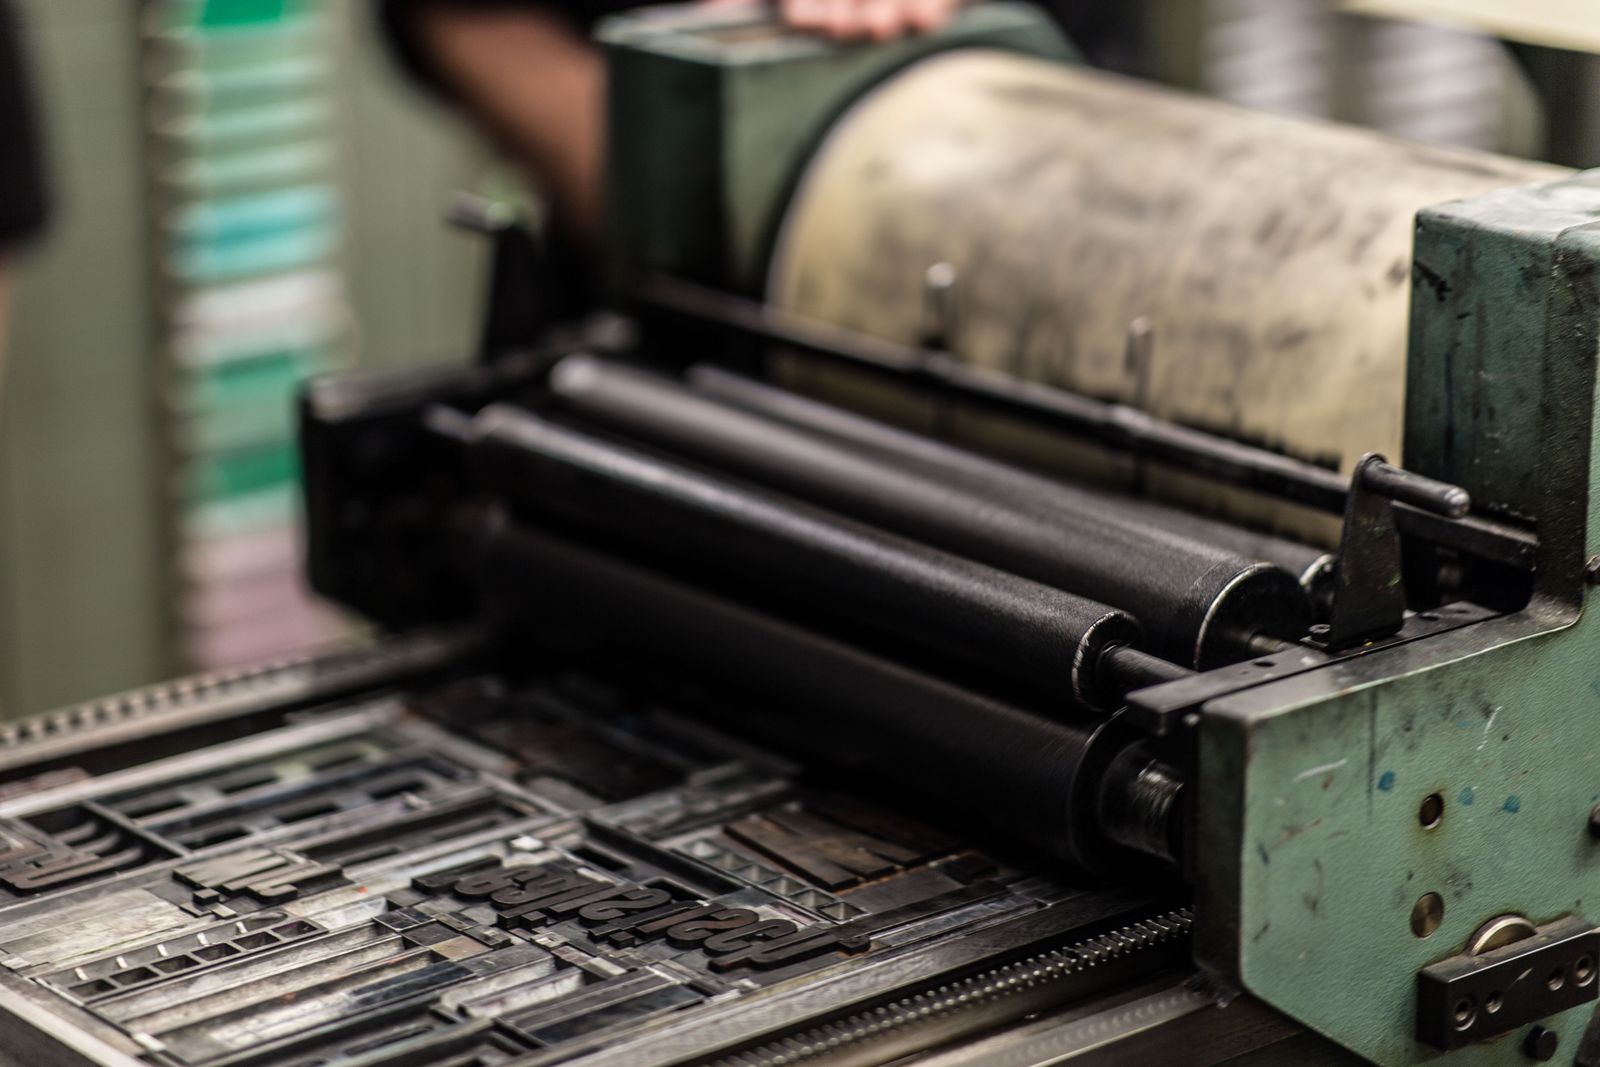
Bleed is extra image beyond the trim line, usually 3–5 mm on each side. Why? The cutter trims a stack of paper with a small tolerance — it's never perfectly precise. If the background runs exactly to the layout's edge, the slightest shift exposes a white strip of paper at the border. Bleed fixes this: the background is extended past the boundary, and even with an imprecise cut the edge stays filled.
Photoshop has no dedicated "bleed" button, so you add it by hand:
Enlarge the canvas
Image → Canvas Size: add double the bleed to each dimension (e.g. +10 mm to width and height for a 5 mm bleed).
Extend the background
Stretch the background, fills and any images that reach the edge out to the new canvas edge — across the whole bleed area.
Mark the trim line
Place guides at the original layout size — that's the future cut line. PDF adds the trim marks on export.
An important safe-zone rule: keep important elements (text, logo, faces) 3–5 mm inside the trim line so they don't get accidentally clipped.
Flattening layers and black text
The working PSD with layers stays with you as the source — no need to flatten it. But the final file for the print shop is usually flattened: extra layers can cause errors at output. Flattening happens on export to PDF/X, or via Flatten Image before saving to TIFF/JPG.
One sneaky detail is black text. Small black text should print with black ink only (K=100, the other channels at zero); otherwise the slightest ink misregistration creates a colored halo and the text "smears." Large black blocks, by contrast, are often made "rich black" for depth. These nuances are worth agreeing on with the print shop.

Export: PDF/X-1a or PDF/X-4
The best way to hand off artwork is to build a Photoshop PDF with a ready PDF/X preset. Such a file carries the image, correct color, bleed and trim marks in one document that any print shop accepts. There are two main standards.
| Spec | PDF/X-1a | PDF/X-4 |
|---|---|---|
| Transparency | Flattened | Kept live |
| Color | CMYK/spot only | CMYK, RGB, ICC profiles |
| Images >300 ppi | Downsampled to 300 | Flexible |
| Compatibility | Maximum, "safe" | Modern RIPs |
| When to choose | Simple layout, old RIP | Complex design, effects |
In the Photoshop PDF dialog, pick the preset you need (e.g. "PDF/X-1a:2001" or "PDF/X-4"), enable Trim Marks and use the document's bleed settings. If you've already converted the file to CMYK against the shop's profile, PDF/X-1a gives the most predictable result.
Final checklist before you send
Run down the list — and the file is ready for the print shop.
Build a print PDF from your artwork in seconds
A finished layout is easiest to hand off as a single PDF. The FormatZ converter assembles a PDF from your PSD right in the browser — no Photoshop install, no sign-up.
Convert PSD to PDFIf the print shop asks for a lossless flattened TIFF, PSD → TIFF has you covered. For choosing a format for a specific print, read "Best Format for Printing Photos", and every conversion is on the all formats page.
Frequently asked questions about preparing for print
Read next
 Photoshop
Color in Photoshop: RGB, CMYK and Profiles
How to convert to CMYK and not lose colors in print.
PhotoshopWhich Format to Save In Photoshop
PSD, TIFF and Photoshop PDF — which one to take to print.
FormatsBest Format for Printing Photos
TIFF, PNG, JPG or PDF — which to choose for quality prints.